Our Fool-Proof Recipe for Royal Icing
Royal icing is the workhorse of the cookie decorating world. This three-ingredient frosting is shelf-stable, sturdy, and easy to make—in short, everything you want in an icing! You can stir a batch up in 5 minutes or less, including the time it takes to dye the icing your favorite color. It can be spread, drizzled, or piped onto cookies for a variety of effects from rustic to sophisticated. It’s hard to mess up this recipe; just stir until smooth, and be sure to use before the icing dries to a smooth, hard finish.
If you’ve been reading our blog for a while, you might notice that this recipe is very similar to our powdered sugar glaze. Both call for powdered sugar mixed with a liquid to a certain consistency. Despite this, the recipes are distinct in and of themselves. For instance, our glaze recipe allows for more flavor versatility and a glossy finish, whereas the egg white and cream of tartar in the royal icing create a sturdy paste that dries without shine. Each have their own virtues, and they can be used together to highlight each other’s’ strengths—like we do in our favorite glazing technique.
Our royal recipe calls for one raw egg white, but you may prefer to substitute dry, powdered egg whites for food safety reasons. If this is the case, simply rehydrate powdered egg whites according to the manufacturer’s directions before stirring in the rest of the ingredients. If you’re using raw egg whites, select only the freshest eggs from a reputable (and preferably organic) vendor.
Fool-Proof Royal Icing
1 cup powdered sugar
¼ teaspoon cream of tartar
1 egg white (or equivalent combination of powdered egg whites and water)

To begin, sift powdered sugar to remove any lumps or inconsistencies. Pour into a bowl and stir in the cream of tartar until distributed throughout powdered sugar. Add egg white and mix, using a spatula or spoon, until mixture forms a smooth paste. When you begin, the icing will look like bread dough, but keep mixing and it will transform into a shiny, thick mixture.
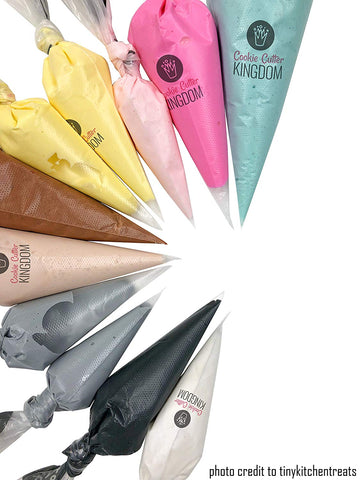
If you would like, separate the royal icing into different bowls and tint with liquid or gel food coloring. Pour into piping bags or cones and use to decorate. For best results, use within a day of mixing—the longer you wait, the harder it will be to handle the icing. In the meantime, store at room temperature.

Royal icing can be spread onto cookies, drizzled over scones, or piped onto any sort of dessert. Be sure you start with a firm, relatively dry surface and give the icing at least 6 hours to dry before stacking or storing in plastic. To test the frosting’s dryness, look for a uniform matte texture or gently tap a scrap piece with the pad of your finger. Properly cured royal icing will not flatten when touched.
For an easy, no mess option for cookie decorating, try Tipless Piping Bags. Simply cut the tip size you want and discard the bag when you're done. No need for clean up! Shameless plug here - our tipless piping bags are Top 3 on Amazon!

If you know how to make royal icing, the world of cookie decorating is your oyster. Do you need more inspiration? Check out our Facebook and Instagram pages for ideas, or share this article with another baker or decorator on social media.

1 comment
?gr8