Are you vacationing somewhere warm to escape the cold winter? Jenessa of @dolcecakesconfections brings summer back using CookieCutterKingdom's Pineapple Cookie Cutter to make these realistic pineapple cookies!
***
When it comes to cookie cutters, I consider myself to be a bit of a hoarder. I go through fazes where I'll order a bunch of random shapes in hopes of being able to use them in the future. With that being said, I have a box full of random cutters collecting dust patiently waiting to see the light of day. Several months ago, I ordered this adorable pineapple cutter thinking I would use it for a luau or Hawaiian themed set (obviously). To my surprise, I haven't received any requests for that theme, but since I keep seeing those cute "Be a pineapple…" quotes floating around, I figured I could break this cutter out for a more "trendy" set. Jenessa of @dolcecakesconfections shows us how to make these cute Hawaiian themed pineapple cookies.
Materials Needed:
- Rolled out cookie dough
- Cookie Cutter Kingdom Pineapple Cookie Cutter (3 inch)
- Yellow royal icing, 15 second consistency (CookieCutterKingdom recipe here)
- Green royal icing, 15 second consistency
- White royal icing, thick piping consistency
- Small leaf piping tip or a tipless bag and scissors
- Edible marker
- Edible gel color or airbrush color - yellow, green and brown
- Small paint brush (for food only)
- Water
Directions:
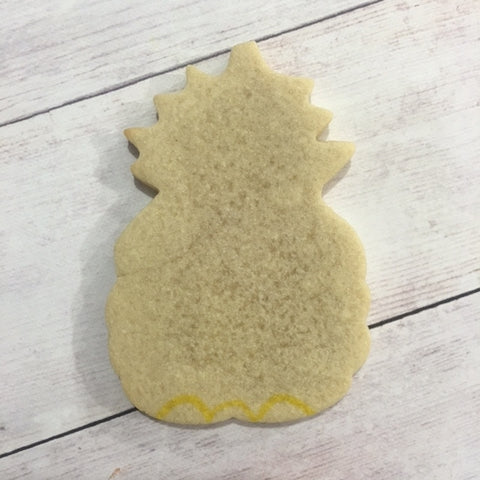
After your cookies are all baked and cooled, use your edible marker to draw small scale like shapes on the bottom base portion of your cookies. I like to use a color similar to what they will be flooded with, but you can use whatever color you have.
Once you're finished, fill in random sections with the yellow royal icing, making sure your sections do not touch. Set the cookies aside for 5-10 minutes and fill in another set of sections, again making sure that they do not touch. If you are making several cookies, you can probably start filling new sections by the time you are finished with the last cookie. Repeat this process until all of your sections are filled in. I filled my cookie in 4 sections.
Next, you want to use same technique of piping in sections to add the green leaves on the top of your pineapple. I did not draw the individual leaves in. I got lazy and just eye balled the placement of them, but feel free to draw them in if that makes you feel more comfortable. Set the cookies aside and allow them to dry completely.
Now that your cookies are dry, take a small paintbrush and add a little bit of thinned out green paint to the top section and to a few spots on the main part of your pineapple. Use a light patting motion to apply the color only in the creases. After the green, use the brown and fill in the rest of the creases.
Once all of the creases have been colored, use the yellow to blend the colors. Add more brown or green if they become too faint. Don't worry about being neat either. I found it looked better when I didn't rinse my brush between colors and let them bleed and run into each other. That nasty, muddled look is what you want.
After the base is finished, paint a few strokes of green to your leaves to add some dimension. You can let the paint dry and stop here or if you're feeling crazy and want to add more details, keep reading!
For all of you over-achievers, we're going to take a small leaf tip and pipe some spikes onto our pineapples. If you don't have a leaf tip or use tipless bags like me, don't fret! You can easily make a "leaf tip" with your bag by cutting a small triangle shape out of the tip. Take the stiff white royal icing and pipe spikes or leaves in an upwards motion on each section of your pineapple. To do this, gently squeeze your bag with the point of the bag facing down and as you pull upwards, slowly stop squeezing. If you've never piped leaves before, you may want to practice a few on a paper towel or something other than your cookie. Set your pineapples aside for 10-15 minutes so the icing can harden enough to paint.
Go over all of the spikes with yellow paint. Lastly, add a little bit of brown to the base of the spikes to create shadows.
When you're finished, take a minute for yourself and remember to always "be a pineapple…stand tall, wear a crown and be sweet on the inside."
Xx,
Jenessa